Services
Clipper blade sharpening
Sharpening of clipper blades, including A5 blades and blade sets for clippers. I work the cutter and the comb so that their cutting surfaces bear on each other properly and cut efficiently.
Sharpening price
The price is normally set by the type of tool and how demanding the work is. From a description and photos I can give you an approximate estimate. If the inspection reveals unforeseen damage or the need for additional work, I let you know about any change in price before starting the extra work.
- Precise sharpening of the upper and lower blade.
- Removal of the burr left by sharpening.
- Cleaning and lubrication of the blades and other parts as needed.
- Setting the right tension of the spring that presses the upper blade against the lower.
- Reassembly and a check that the blade works properly.
How the sharpening is done, step by step
A well-sharpened clipper blade is not just a matter of sharp teeth. To cut properly, the upper and lower blade both have to be sharpened correctly, and their bearing surfaces have to be flat and fit each other properly. Correct assembly and spring tension matter too.
So I work every clipper blade through a set process: disassembly, cleaning and disinfection, sharpening both halves, removing grinding residue, precise assembly and adjustment, and a final test.
Inspection and preparation before sharpening
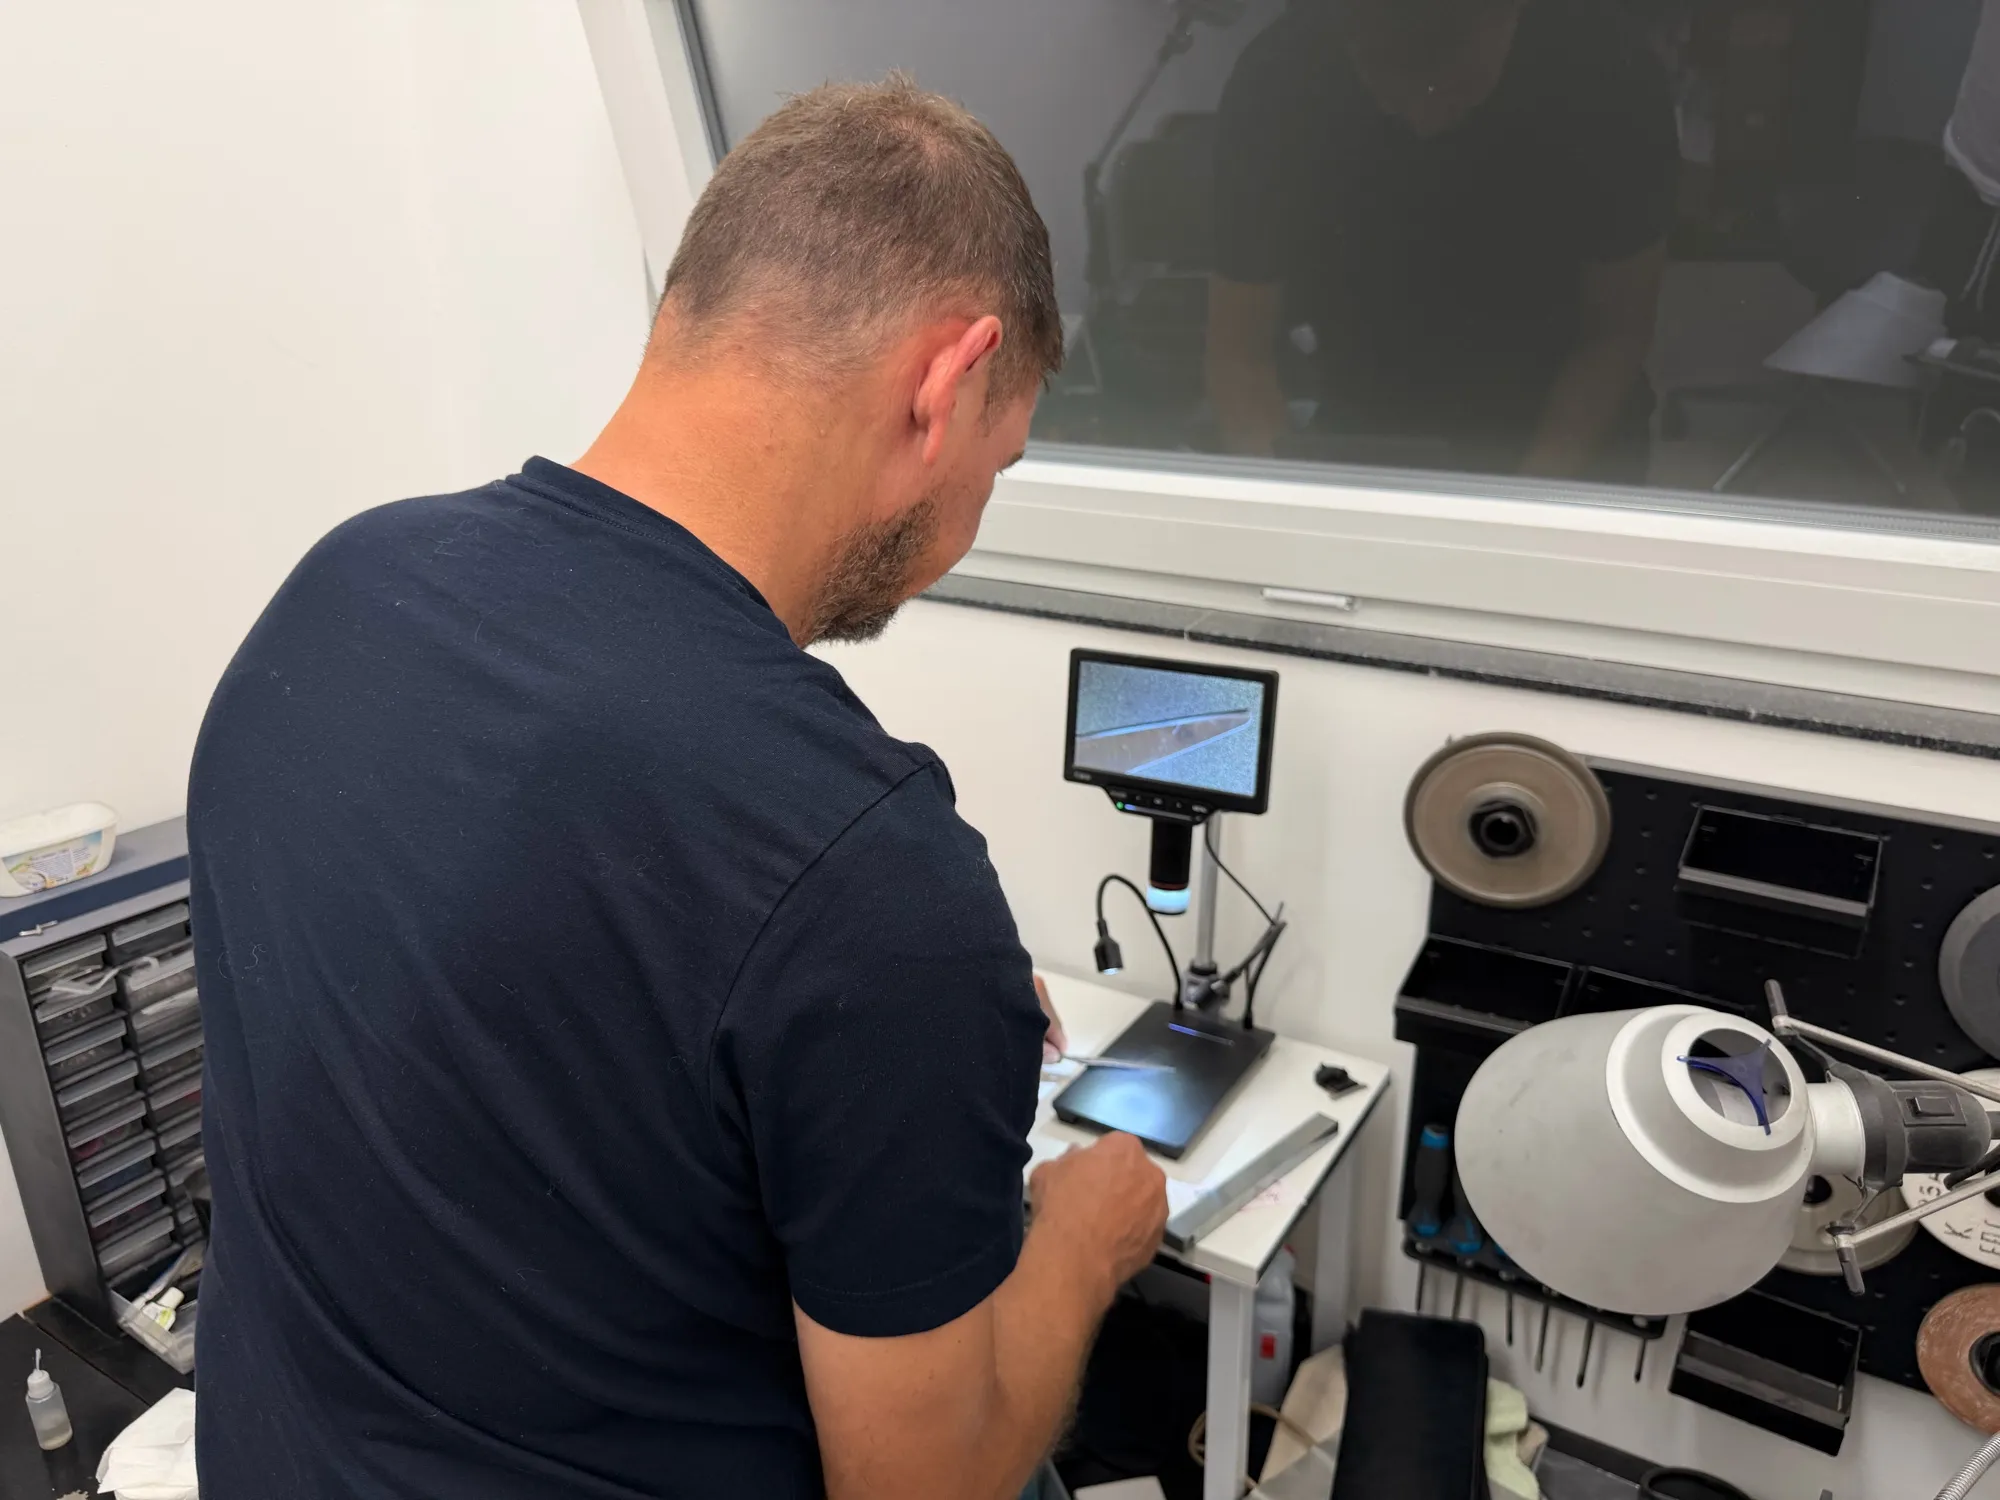
I take every clipper blade apart, then clean and disinfect the parts. Before sharpening I check the condition of the teeth, any damage, and wear on the blades and bearing surfaces.
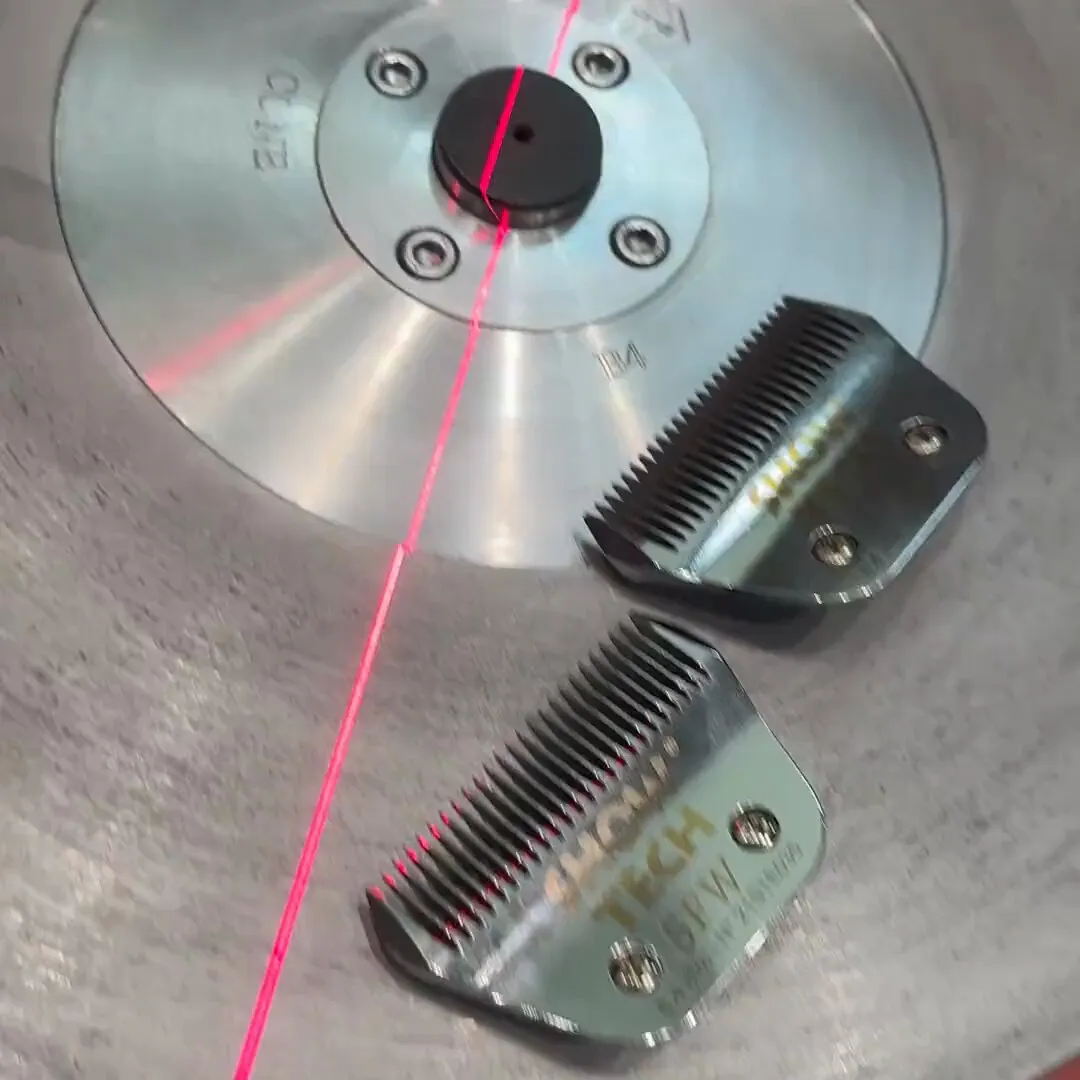
Then the upper and lower blade are sharpened. While grinding I use a laser line that helps me keep the work even across the full width of the blade.
Flat grinding of the bearing surfaces
Sharpening works the teeth, which are the cutting part, and at the same time levels the bearing surfaces of the upper and lower blade. These two surfaces have to fit each other across their whole area. If they do not, the blade can cut poorly even when the teeth are sharp.
The laser line helps me keep the grinding even. I remove only as much material as is needed to get both blades flat and bearing properly.
Cleaning and burr removal
After sharpening I wash the blades to remove the grinding residue, then carefully remove the burr the work leaves behind. This step matters for clean, correct cutting.
Before assembly I also check the surface where the blade seats on the clipper drive. A proper fit helps reduce unwanted vibration in use.
Assembly and blade adjustment
Before assembly I oil the blades. Then I align the upper and lower blade precisely and set the tension of the spring that provides the right pressure between them.
Too little pressure can stop the blade cutting properly; too much increases friction, heat and wear. Correct adjustment is therefore an important part of the finishing work.
Demagnetising and final test
Once assembled, I demagnetise the blade and test it. I check that the two halves work together properly and that the blade cuts as it should.
A clipper blade is ready for use only after sharpening, cleaning, assembly, adjustment and testing are all complete.
Common questions
Can I send just one half of a clipper blade?
No. Send the whole blade, upper and lower together. Both halves are worked so that they bear on each other properly once assembled. Only then can I check how they fit together and that the whole blade works properly.
Why does my clipper blade run hot even though I oil it regularly?
Heat is not always caused by a lack of oil. It can come from the blades not bearing on each other properly, too much pressure between them, an incorrectly set spring, or worn or blunt blades. If a blade still runs too hot despite regular oiling, its condition, the fit of the blades and the adjustment need checking.
What happens if a tooth on the blade is broken?
A broken tooth generally cannot be restored to its original shape. The damage can affect the quality of the clip, and a broken or bent tooth tip can pull fur or injure the skin. Before sharpening I inspect the teeth and judge whether the blade is still worth working on. If the damage cannot be properly corrected, I let the customer know.
How many sharpenings can one clipper blade take?
The exact number cannot be set in advance. It depends on the quality of the steel, wear, damage and how much material was removed in earlier sharpenings. At every inspection I assess the condition of both halves and whether they can still be properly restored.
How do I send clipper blades by post?
Send the blade assembled, clean and dry, with no fur left on it. Protect each one individually and pack it in a sturdy cardboard box that stops it moving and getting damaged in transit. Seal the parcel well and send it by tracked post to: Igor Komadina s.p., Ferrarska ulica 14, 6000 Koper, Slovenia.